In this PayPal API tutorial, we will see clear instructions on how to create API credentials for both PayPal NVP/SOAP (Classic) API and PayPal REST API.
Introduction
PayPal is the largest payment system provider in the world.
The reasons for PayPal’s success is not just the seamless payment system offered by them.
But also, PayPal provides a ton of features and services that make the process of sending/receiving money a simple affair.
Using PayPal’s API interface, you can integrate all of PayPal’s features into your application!
In this tutorial, we will see how you can create different PayPal API credentials, which will enable you to build excellent services of your own.
PayPal Classic vs. REST APIs
You can divide the current generation’s Web Applications into two types based on their architecture, NVP/SOAP (Classic), and REST APIs.
PayPal supports both types of applications and, in effect, supports almost all of the Web Applications on the Internet!
PayPal’s REST API uses the OAuth framework to support modern applications such as mobile platforms and Single Page JavaScript applications.
- REST APIs embrace a more simplistic request/response flow.
- The API also uses HTTP verbs such as GET, POST, PUT for endpoint structure.
- Most importantly, a REST API uses OAuth 2.0 as the Authorization framework.
- REST APIs accept and return data in the universal JSON format.
On the other hand, PayPal’s Classic APIs make API calls in NVP or SOAP format.
The Classic API is officially listed as deprecated on PayPal’s website. However, many software applications, plugins, etc. are still built on this platform.
If you are building something from scratch it’s best to use the REST API. If you’re using existing software or plugins, you do not need to worry about using Classic. They are not going away any time soon.
Create PayPal Classic API Credentials
You need a Username, Password, and a Signature to access PayPal’s classic APIs.
However, you can access PayPal APIs only if you have a PayPal Premier / Business / Website Payments Pro account.
You will also need to verify your PayPal account before you can start accessing PayPal’s API credentials.
1. Log in to Your PayPal Account.

2. Go to Account Settings.

3. Click “Update” on the API Access Section.

4. Get Your Credentials in NVP/SOAP API Integration Page.

Create PayPal REST API Credentials
You need a Client ID and a Secret key from PayPal to access their REST APIs.
It is also highly recommended that you initially test out your API integration in a sandboxed environment to make sure everything works as expected.
1. Log in to https://developer.paypal.com.

2. Create Sandbox Accounts.
We already have an article covering the creation of PayPal sandbox accounts in-depth! Go ahead and create them with the help of this article and come back here once you’re done.
3. Create a PayPal App.
You can create one or more applications with PayPal and each of these applications will have their own Client ID and Secret! Go ahead and create a PayPal application using one of our recent tutorials and come back here once you’re done.
4. Get Client ID and Secret from Your PayPal App’s Detail Page.

Conclusion
That’s it! PayPal makes creating PayPal API credentials an effortless process. And from my experience, the rest of their API is excellent as well!
You may also be interested in…
Looking for Live Help?
Schedule a live meeting with Drew Angell, PayPal Certified Developer, and get all of your questions or concerns answered.

Featured PayPal Products and Services
-

PayPal for WooCommerce
FREE! -
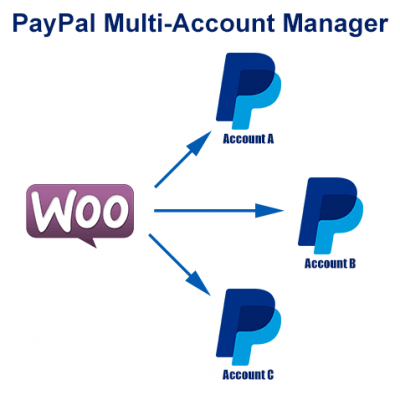
WooCommerce Multiple PayPal Accounts Plugin
FREE! -
PayPal Shipment Tracking for WooCommerce
$49.99 -
Offers for WooCommerce
$59.99 -
WordPress PayPal Invoice Plugin
$20.00 -
PayPal Webhooks for WordPress
$79.99 -
Sale!
PayPal IPN for WordPress
Original price was: $59.99.$49.99Current price is: $49.99. -
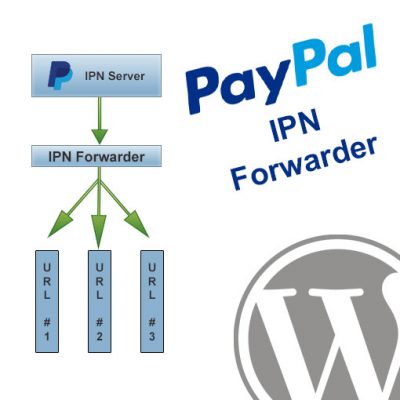
WordPress PayPal IPN Forwarder
$19.99