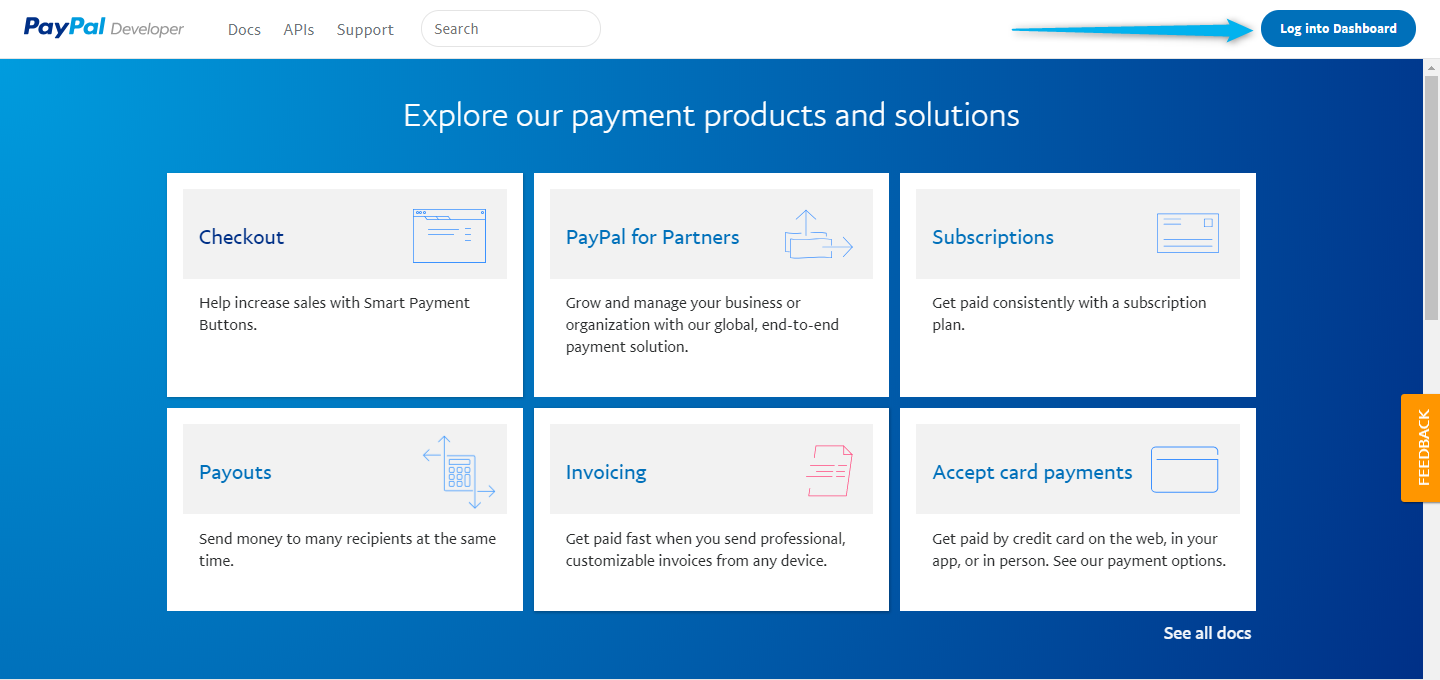
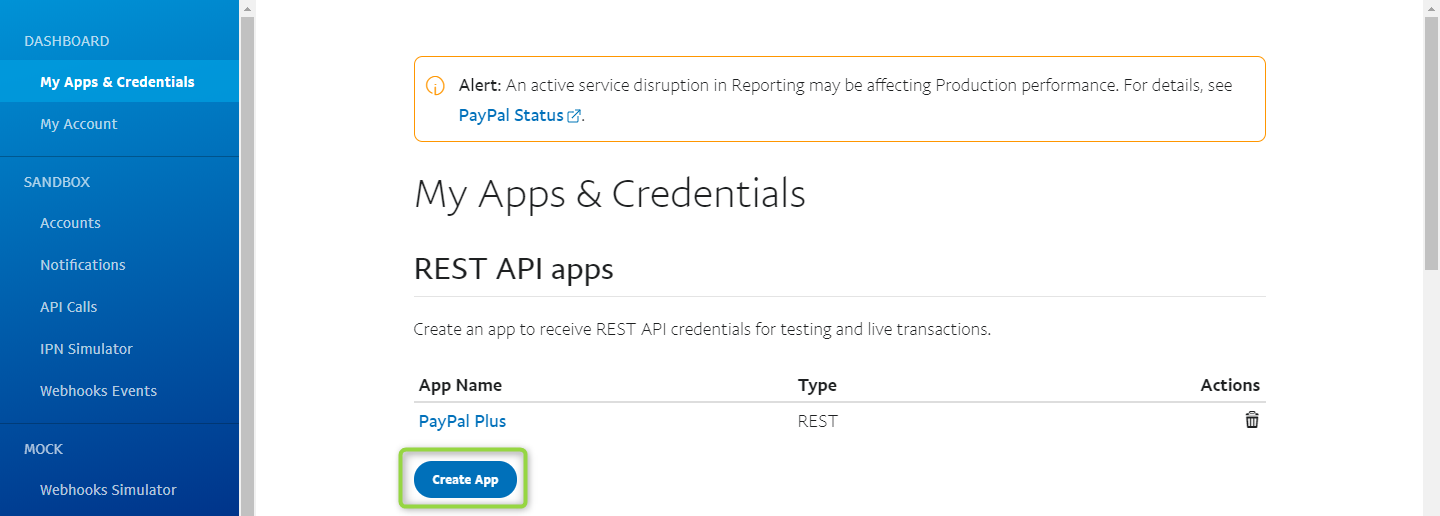
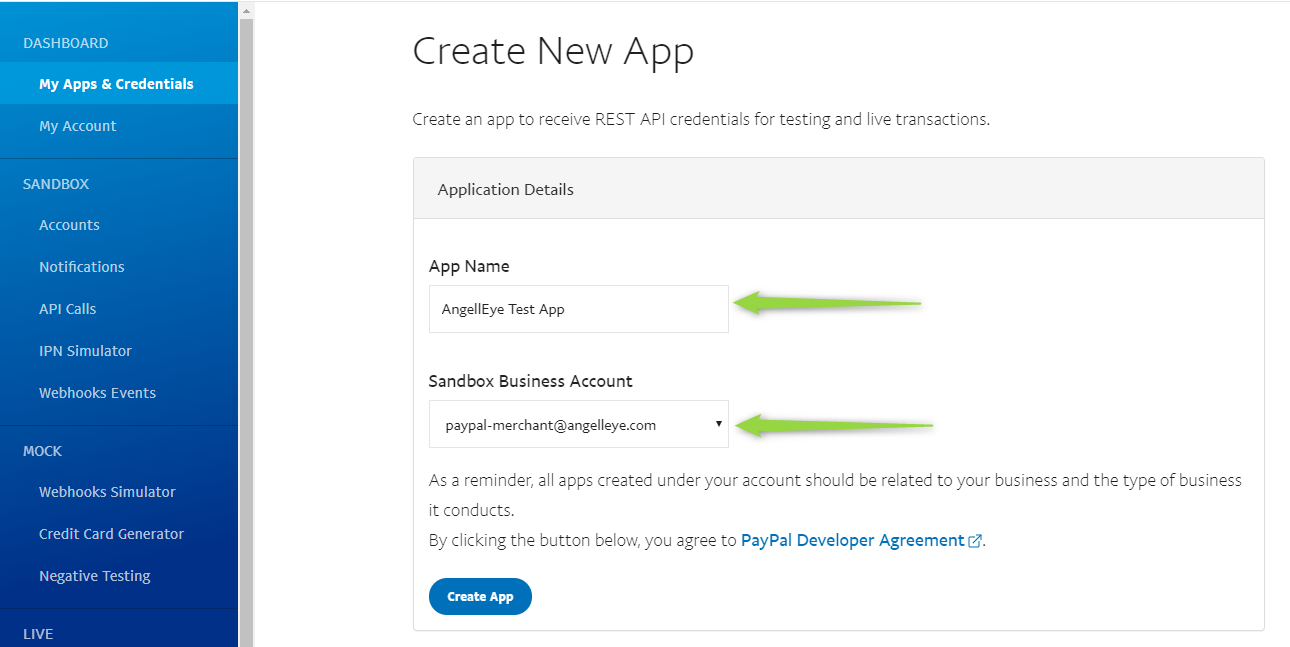
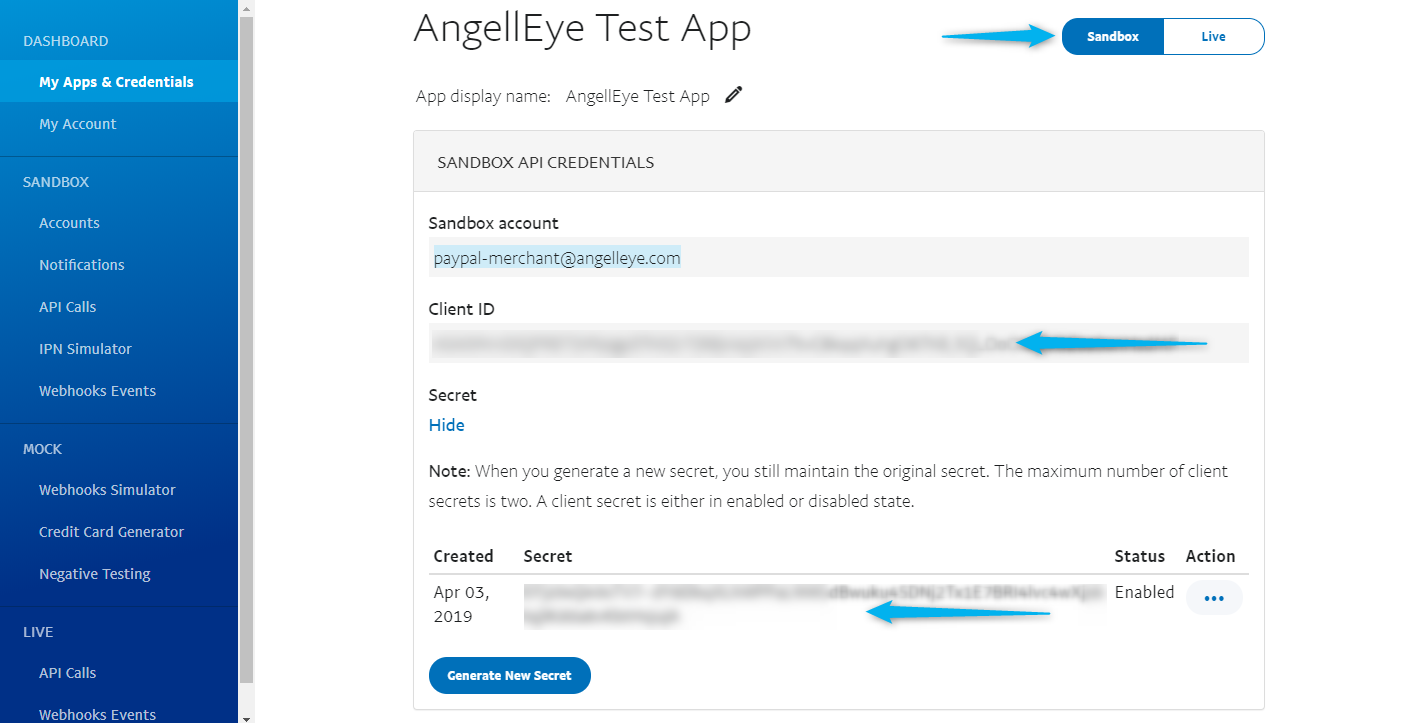
To work with PayPal’s REST API environment, developers need to create a REST API app inside their PayPal developer account.
Looking for Live Help?
Schedule a live meeting with Drew Angell, PayPal Certified Developer, and get all of your questions or concerns answered.

Featured PayPal Products and Services
-

PayPal for WooCommerce
FREE! -
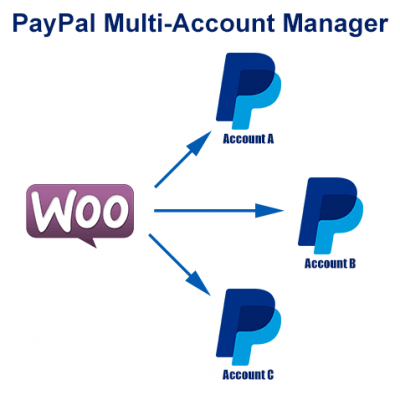
WooCommerce Multiple PayPal Accounts Plugin
FREE! -
PayPal Shipment Tracking for WooCommerce
$49.99 -
Offers for WooCommerce
$59.99 -
WordPress PayPal Invoice Plugin
$20.00 -
PayPal Webhooks for WordPress
$79.99 -
Sale!
PayPal IPN for WordPress
Original price was: $59.99.$49.99Current price is: $49.99. -
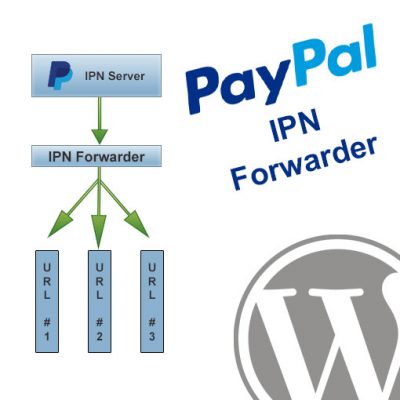
WordPress PayPal IPN Forwarder
$19.99


I don’t see my rest apps name in my sandbox account. Here i see “something went wrong.. try again”….. What’s the issue here? How to solve that?
You mean you’re seeing that when you try to view your apps in your developer account? I’m a little confused where you’re seeing this..??
Yeah i’m having the same problem i cannot i see that when i try to make purchase to my website, when i try with SANDBOX i cannot see my clients address only ONE CLICK BUY as email!
I’m not sure I understand the issue you’re having..?? Please elaborate and I’ll try to help.
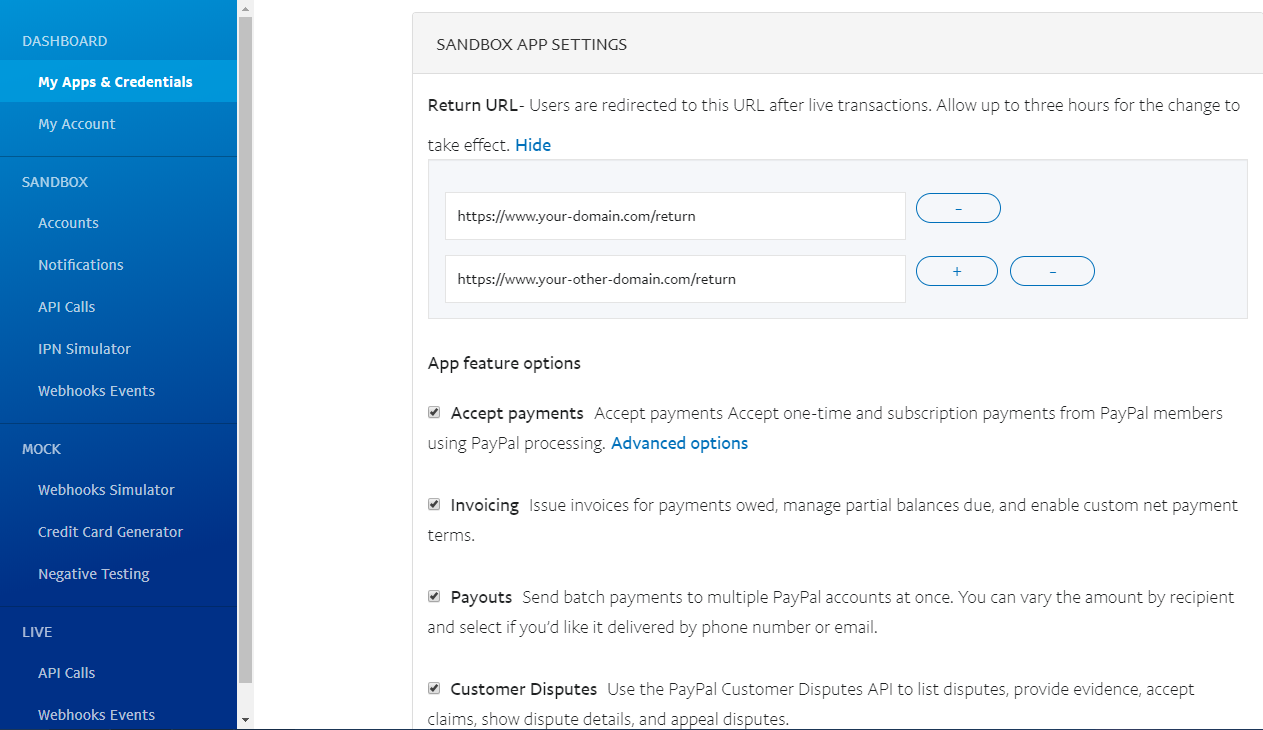
What is the reason for more than one Return URL?
How can I (or PayPal) decide, which one should be used?
The return URL is specified inside your API request. You may want different URLs for different payments. Any URL you use needs to be added to the app in order for it to accept it.
How to generate private key, public key and merchant id for checkout.
Did you read the article? That’s covered in Step 4.
Is the One-click upsell possible?
It is through the PayPal Vault as now documented, but only if you’re using 1st party credentials. The Vault for 3rd party onboarded merchants isn’t going to be available until the end of the year (maybe).