Prerequisites
PayPal Notify FileMaker is a PayPal IPN solution built for FileMaker Server with Custom Web Publishing and the PHP API that FileMaker provides. In order to utilize the solution you will need the following:
- FileMaker Server 9.0+ w/ Custom Web Publishing
- Web Server w/ PHP 5.3+
Overview
There are two things that need to be installed and configured for the solution as a whole to work.
- PayPal IPN FileMaker Database
- This will be opened and hosted on the FileMaker Server.
- A user account will be configured with the FMPHP privilege enabled.
- PayPal IPN PHP Application
- This will be installed and hosted on the web server.
- PayPal IPNs will be sent to the PHP application, which will then save the data in FileMaker.
We will step through the procedure to get both of those things configured correctly.
Video Tutorial
Step 1 - Open the PayPal IPN FileMaker Database in FileMaker Pro
- Open the /_assets/PayPal_IPN.fmp12 database file that was included with your download in FileMaker Pro.
- Username: Admin
- Password: Pr0t3ct! (That is a zero in the middle)
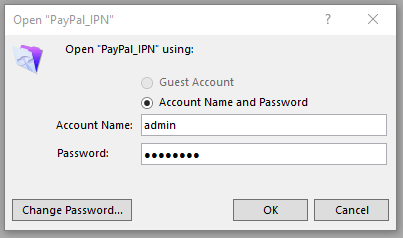
Login to the PayPal IPN FileMaker database.
Step 2 - Change Account Password
- Go to File -> Manage -> Security
- Enter the same username and password again to enter the user accounts section.
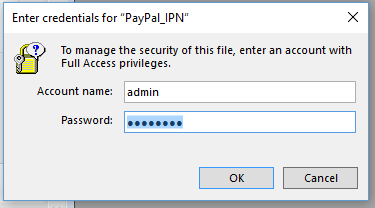
Enter the admin credentials for the PayPal IPN database to manager user accounts.
- Double click the Admin account to open it.
- Click the Change button for the Password, and enter your own value.
- Click the Set Password Button, and then click OK.
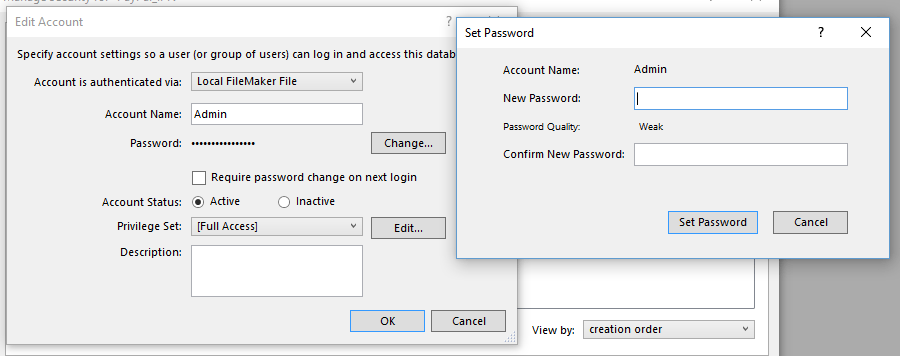
Change the password for the admin user account.
Step 3 - Enable PHP Web Publishing
- Go back to File -> Manage -> Security again.
- Login again with the admin account and your new password that you just set.
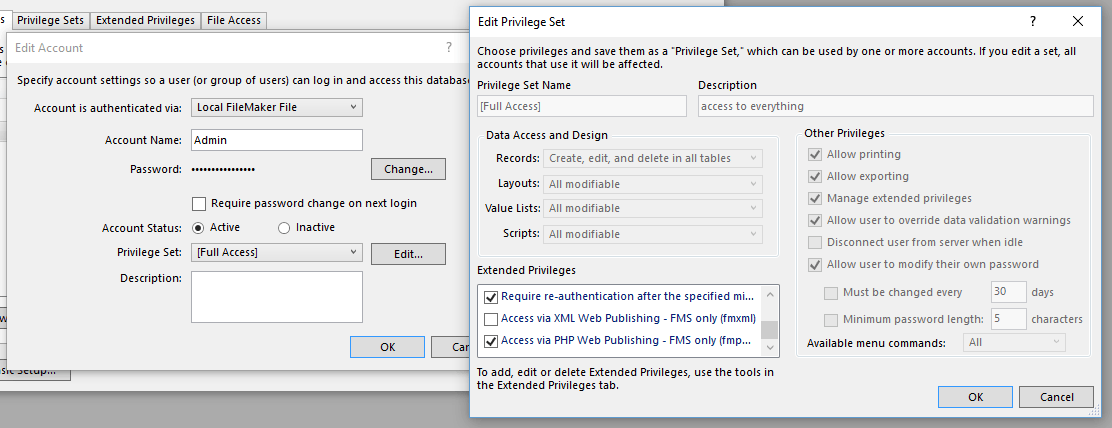
- Next to Privilege Set, click the Edit button.
- Scroll to the bottom of the Extended Privileges list.
- Check the box for Access via PHP Web Publishing.
- Click OK three times to commit your changes (If prompted, enter your admin account credentials once more to verify the changes.)
Step 4 - Upload PayPal IPN Database to FileMaker Server
- Go to File -> Sharing -> Upload to FileMaker Server.
- Accept the prompt to close the file.
- Choose your FileMaker Server from the Hosts list.
- Enter the FileMaker Server credentials on the right, and then click Next.
- Review the file you will be uploading, and click the Upload button to send the database to your FileMaker server.
- When completed, leave the box checked to open the file in Pro, and click Done.
NOTE: If you would rather, you can also upload the PayPal IPN database file manually.
Congrats!
Your PayPal IPN database is now hosted on your FileMaker server and ready for use!
Step 1 - Update Config File
- Open the file /includes/config-sample.php
- Follow the instructions in the code comments to fill out each section of the config file with your proper values.
- Save the file as config.php in the /includes directory next to the config-sample.php file.

PHP snippet from the PayPal IPN FileMaker PHP app config file.
Step 2 - Upload the PayPal Notify FileMaker PHP Application to Web Server
- Upload the PHP application files to a directory on your web server where you would like it to run.
- This can be done using an FTP client, a web-based cPanel, or SSH connection.
- Remember the location where you uploaded the application because this will be used as your IPN URL in your PayPal account settings.
- For example, if you uploaded the application to /paypal/ipn/ on your server, your IPN URL would be http://www.yourdomain.com/paypal/ipn/
Step 3 - Test the Connection to FileMaker Server
- Load the /test directory of the PHP application in a browser.
- For example, if the application is installed at http://www.yourdomain.com/paypal/php/ you would load http://www.yourdomain.com/paypal/php/test/ to run the connection test.
- The test page should simply list the FileMaker databases that are available to the PHP application.
- If you do not see the PayPal_IPN database in this list you need to double check that you got the PHP Web Publishing privilege (FMPHP) enabled for the user account credentials you added to the PHP config file.
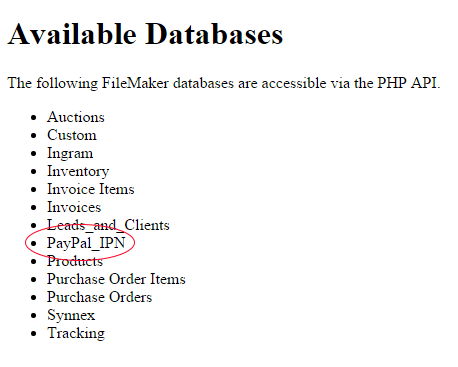
FileMaker Server databases with FMPHP privilege added are listed by the test.
Step 4 - PayPal IPN Simulator Test
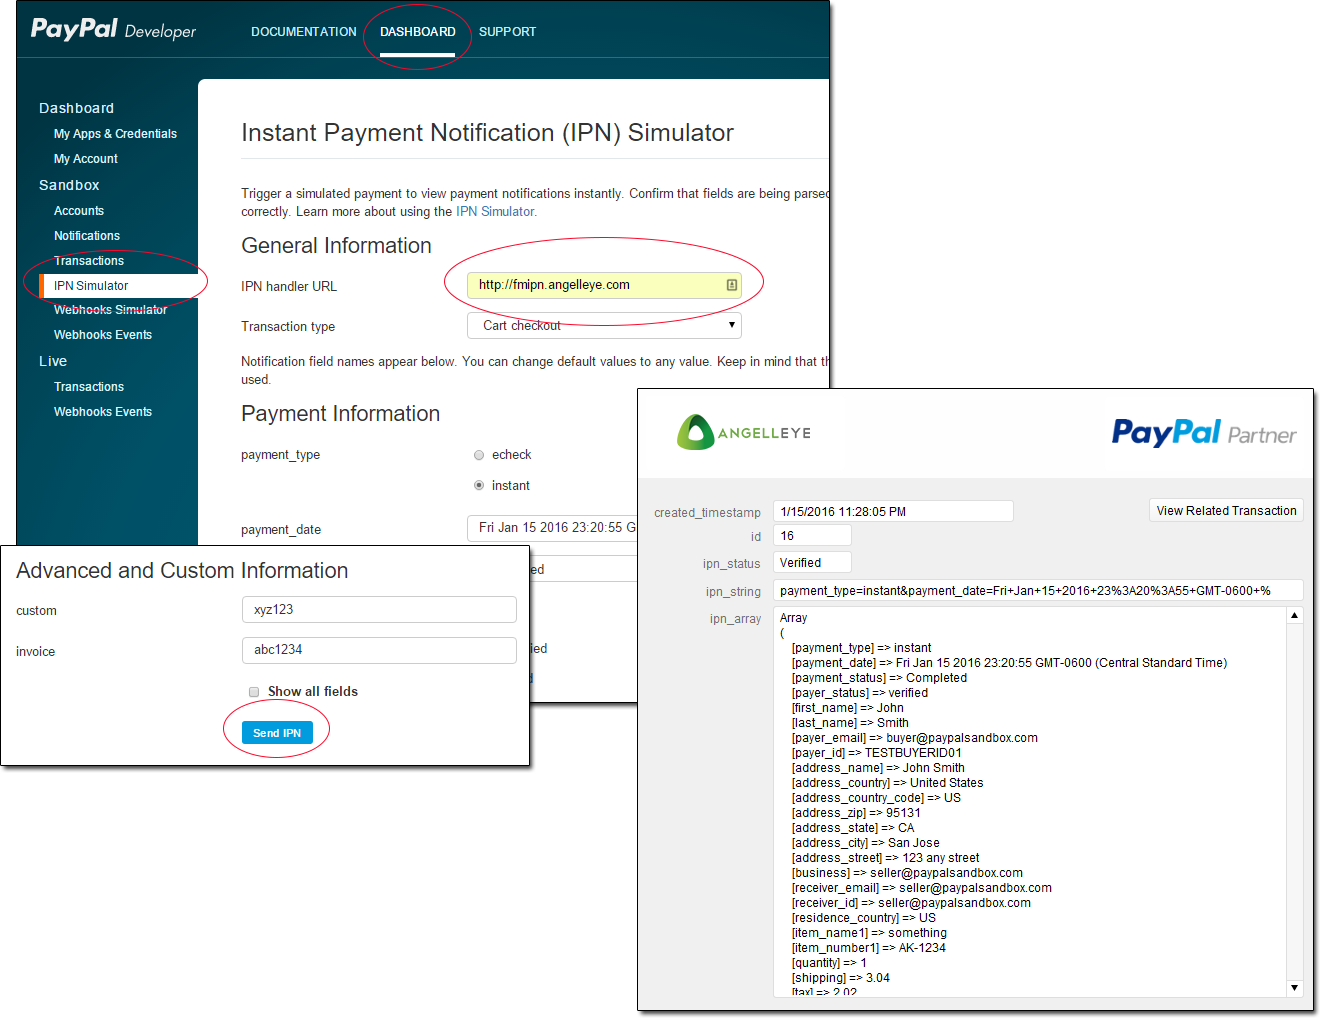
- Login to http://developer.paypal.com using your PayPal account credentials.
- If you have not ever done this may be asked a few questions while it creates your PayPal Developer account. This is necessary to use the developer tools provided here.
- Click Dashboard at the top of the page.
- Click IPN Simulator under the Sandbox section in the menu on the left.
- Enter your IPN URL in the “IPN Handler URL” field.
- Choose an IPN type to test from the “Transaction Type” drop-down box.
- At the bottom of the form, click the Send button to simulate this IPN with your new IPN solution.
- Now move back to FileMaker Pro where you have the PayPal IPN solution file open.
- Switch to the ipn_raw layout, and you should now see the IPN data that you simulated shown here.
Step 5 - PayPal Account IPN Configuration
- Follow the instructions provided here for configuring IPN in your live PayPal account.
- The URL you will use depends on the install location of the PHP application on your web server.
- For example, if you uploaded the PHP solution files to /paypal/ipn/ on your server, then your URL would be http://www.yourdomain.com/paypal/ipn/
High Fives!
You now have a fully integrated PayPal IPN solution for FileMaker Server with Custom Web Publishing via the PHP API!
Need Help?
If you are having trouble with any of these steps feel free to submit a support ticket and we will be happy to help.
