Introduction
When you create a Gravity form on your website that includes a Braintree Payments credit card processing form, the only data passed to the Braintree transaction details is the amount to charge and the card details.
If you would like to include additional fields like the customer information, address, or any custom fields, you can do that using the Braintree Field Mapping tool that we have added into the plugin.
Here’s a step-by-step guide for how to map Gravity Forms fields to Braintree fields so that they will show up in the Braintree transaction details.
How to Map Gravity Forms Fields to Braintree
1. Go to Form Settings -> Braintree Field Mapping
From an existing form you will find the Braintree Field Mapping option under the Settings menu.

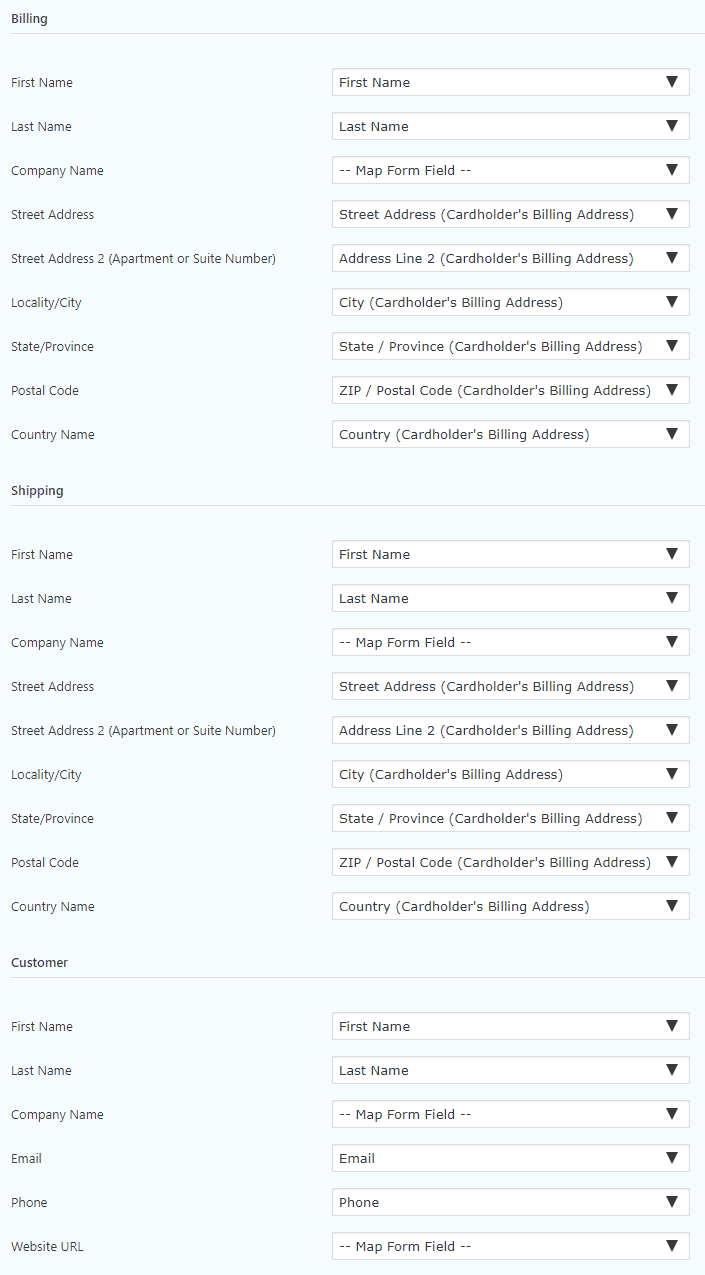
2. Standard Field Mapping
For any general fields available in Braintree (ie. Customer/Billing/Shipping), choose a Gravity form field from the drop-down to map to the listed Braintree field.
3. Custom Field Mapping – Create Custom Fields in Braintree
If you have additional fields on your Gravity form that are not available in Braintree by default, you can create custom fields to pass this data.
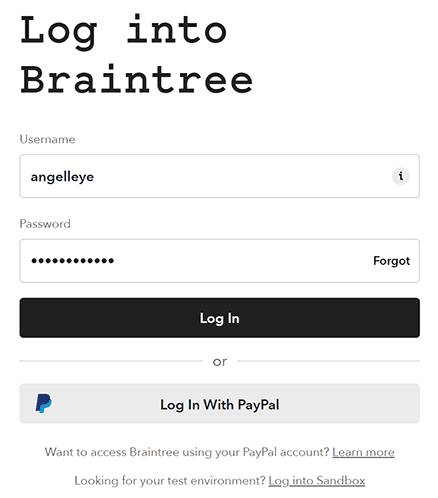
3a. Log In to Your Braintree Payments Account
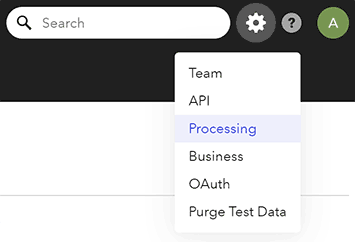
3b. Go to Settings -> Processing
From your Braintree account, click the gear icon at the top of the page, and go to the Processing page.
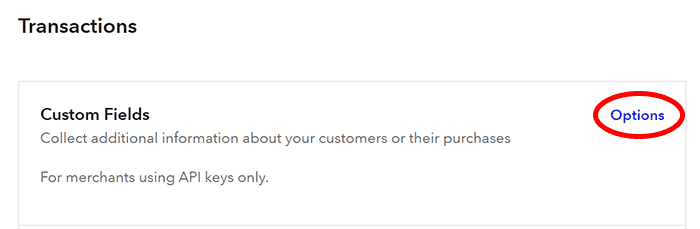
3c. Click the Options Link Under the Transaction Section
Scroll down the Processing Settings page until you find the Transactions section. From there, click the Options link for Custom Fields.
3d. Click the Add Link/Button
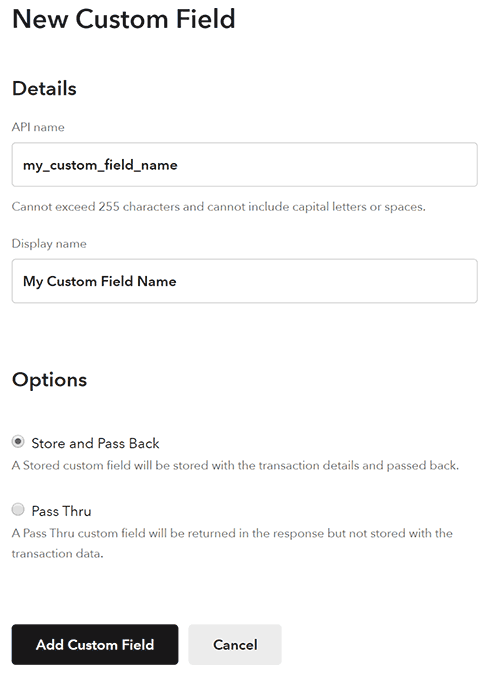
3e. Fill the Custom Field Form and Click “Add Custom Field”
Fill out the form to create your custom Braintree field, and then click the button to Add Custom Field.
The API Name field should be all lowercase with underscores to separate words. The Display Name is how you will see this field displayed when reviewing Braintree transaction details.
4. Custom Field Mapping – Map Custom Fields in Gravity Forms
With your custom fields created in your Braintree account, you can now map those fields to any fields you have included on your Gravity form.
4a. Click the Add Custom Field Link
At the bottom of the Gravity Forms Braintree Field Mapping settings page, click the link to Add Custom Field.

4b. Enter the Custom Field Name and Map the Gravity Form Field
Type the name of the custom field you created in Step 3e. Then choose the Gravity form field you would like to pass into this custom field from the drop-down list.

5. Click the Update Mapping Button

Gravity Forms Braintree Field Mapping Completed!
With the above steps completed, your Gravity Forms field data will show up in the Braintree transaction details in the fields that you have specified!